Commander Legends: Battle for Baldur's Gate arrives on June 10, and with it comes a whole city full of awesome goodies. If you haven't checked out the set, you should head over to the Commander Legends: Battle for Baldur's Gate Card Image Gallery to see the cards. You can also read the product overview and Collecting Commander Legends: Battle for Baldur's Gate articles for a complete look at what's new!
Commander Deck Contents
Commander Legends: Battle for Baldur's Gate introduces four new Commander decks. Each Commander deck includes a legendary "face" Commander as well as an alternate legend, plus a Background to use as Commanders. In total, each deck contains ten new-to-Magic cards.

Each deck also contains a Collector Booster Sample Pack. Each Sample Pack contains two cards:
- 1 Booster Fun rare or mythic rare (a traditional foil in 20% of Sample Packs)
- 1 Traditional foil rulebook common or uncommon
The Collector Booster Sample Pack might contain a special version of one of the cards in your Commander deck or a card perfect to add to another Commander deck. Most Commander Legends: Battle for Baldur's Gate Commander decks contain a Collector Booster Sample Pack in the same language as the deck. However, if your Commander deck is in Chinese, Italian, Portuguese, or Spanish, your Collector Booster Sample Pack will be in English.
There are two versions of packaging you can find for these decks: the full-color box and a minimal-packaging version found online. The minimal packaging has the same contents but uses less packaging. Both are recyclable and reduce plastic waste!
You can find Commander Legends: Battle for Baldur's Gate at your local game store and online at retailers like Amazon.
Commander Legends: Battle for Baldur's Gate Decklists
Here are the full decklists for the four new Commander decks.
(Editor's Note: The decklists below pull the newest printing of each card automatically from Gatherer, including printings which are not in this product. These decklists are not card-for-card product displays but rather interactive lists of the cards included in each deck.)
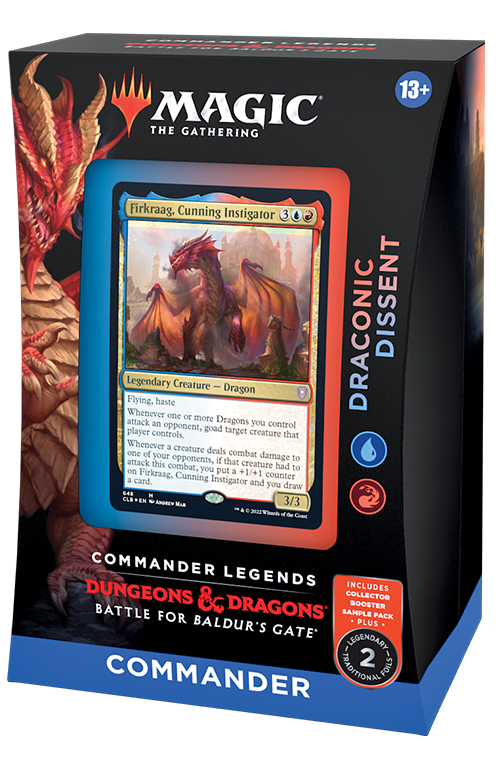
Draconic Dissent
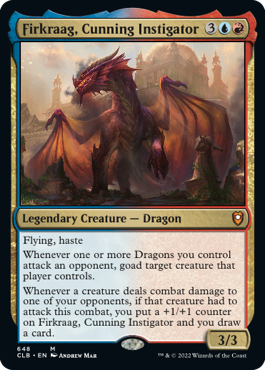
1 Firkraag, Cunning Instigator
1 Baeloth Barrityl, Entertainer
1 Clan Crafter
1 Artificer Class
1 Astral Dragon
1 Mocking Doppelganger
1 Bothersome Quasit
1 Death Kiss
1 Loot Dispute
1 Spectacular Showdown
1 Aether Gale
1 Angler Turtle
1 Curse of the Swine
1 Dissipation Field
1 Domineering Will
1 Keiga, the Tide Star
1 Midnight Clock
1 Pursued Whale
1 Reins of Power
1 Sly Instigator
1 Will Kenrith
1 Agitator Ant
1 The Akroan War
1 Avatar of Slaughter
1 Blasphemous Act
1 Brash Taunter
1 Chain Reaction
1 Chaos Dragon
1 Chaos Warp
1 Disrupt Decorum
1 Drakuseth, Maw of Flames
1 Geode Rager
1 Goblin Spymaster
1 Kazuul, Tyrant of the Cliffs
1 Rowan Kenrith
1 Ryusei, the Falling Star
1 Territorial Hellkite
1 Thunder Dragon
1 Vengeful Ancestor
1 Warmonger Hellkite
1 Niv-Mizzet, Parun
1 Dragon's Hoard
1 Solemn Simulacrum
1 Steel Hellkite
1 Stuffy Doll
1 Castle Vantress
1 Desolate Lighthouse
1 Kher Keep
1 Temple of Epiphany
1 Wandering Fumarole
1 Psychic Impetus
1 Shiny Impetus
1 Arcane Signet
1 Burnished Hart
1 Mind Stone
1 Wayfarer's Bauble
1 Command Tower
1 Compulsive Research
1 Curse of Verbosity
1 Propaganda
1 Curse of Opulence
1 Sprite Dragon
1 Bloodthirsty Blade
1 Fellwar Stone
1 Hedron Archive
1 Izzet Signet
1 Sol Ring
1 Talisman of Creativity
1 Ash Barrens
1 Izzet Boilerworks
1 Myriad Landscape
1 Path of Ancestry
1 Prismari Campus
1 Reliquary Tower
1 Temple of the False God
1 Terrain Generator
12 Island
12 Mountain
Exit from Exile
1 Faldorn, Dread Wolf Herald
1 Durnan of the Yawning Portal
1 Passionate Archaeologist
1 Delayed Blast Fireball
1 Nalfeshnee
1 Green Slime
1 Journey to the Lost City
1 Tlincalli Hunter
1 Venture Forth
1 Sarevok's Tome
1 Aurora Phoenix
1 Bonecrusher Giant
1 Dire Fleet Daredevil
1 Dream Pillager
1 Etali, Primal Storm
1 Greater Gargadon
1 Ignite the Future
1 Izzet Chemister
1 Jeska's Will
1 Laelia, the Blade Reforged
1 Mizzium Mortars
1 Outpost Siege
1 Stolen Strategy
1 Tectonic Giant
1 Urabrask the Hidden
1 Warstorm Surge
1 Wild-Magic Sorcerer
1 Arasta of the Endless Web
1 Battle Mammoth
1 End-Raze Forerunners
1 Ezuri's Predation
1 Hornet Queen
1 Lovestruck Beast
1 Managorger Hydra
1 Primeval Bounty
1 Return of the Wildspeaker
1 Sandwurm Convergence
1 Sweet-Gum Recluse
1 Vivien, Champion of the Wilds
1 Escape to the Wilds
1 Xenagos, the Reveler
1 Chaos Wand
1 Castle Embereth
1 Cinder Glade
1 Game Trail
1 Kessig Wolf Run
1 Mossfire Valley
1 Mosswort Bridge
1 Raging Ravine
1 Spinerock Knoll
1 Temple of Abandon
1 Nature's Lore
1 Arcane Signet
1 Command Tower
1 Demon Bolt
1 Embereth Shieldbreaker
1 Light Up the Stage
1 Volcanic Torrent
1 Beanstalk Giant
1 Beast Within
1 Cultivate
1 Explore
1 Kodama's Reach
1 Natural Reclamation
1 Sakura-Tribe Elder
1 Search for Tomorrow
1 Terramorph
1 Three Visits
1 Bloodbraid Elf
1 Grumgully, the Generous
1 Sol Ring
1 Ash Barrens
1 Blighted Woodland
1 Gruul Turf
1 Highland Forest
1 Myriad Landscape
1 Temple of the False God
11 Mountain
12 Forest
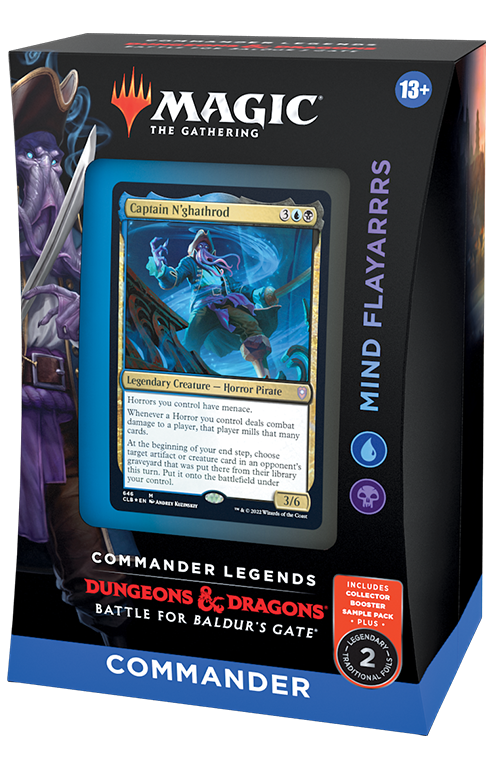
Mind Flayarrrs
1 Captain N'ghathrod
1 Zellix, Sanity Flayer
1 Haunted One
1 Aboleth Spawn
1 Endless Evil
1 Grell Philosopher
1 Psionic Ritual
1 Brainstealer Dragon
1 From the Catacombs
1 Uchuulon
1 Chasm Skulker
1 Forgotten Creation
1 Fractured Sanity
1 Grazilaxx, Illithid Scholar
1 Hullbreaker Horror
1 Leyline of Anticipation
1 Mind Flayer
1 Overcharged Amalgam
1 Pull from Tomorrow
1 Reflections of Littjara
1 Sludge Monster
1 Wharf Infiltrator
1 Black Market
1 Crippling Fear
1 Curtains' Call
1 Dark Hatchling
1 Dross Harvester
1 Guiltfeeder
1 Hex
1 Hunted Horror
1 In Garruk's Wake
1 Nighthowler
1 Nihilith
1 Sewer Nemesis
1 Woe Strider
1 Consuming Aberration
1 Memory Plunder
1 Nemesis of Reason
1 Phyrexian Revoker
1 Psychosis Crawler
1 Spellskite
1 Choked Estuary
1 Creeping Tar Pit
1 Darkwater Catacombs
1 Drownyard Temple
1 Exotic Orchard
1 Nephalia Drownyard
1 River of Tears
1 Sunken Hollow
1 Temple of Deceit
1 Arcane Signet
1 Mind Stone
1 Command Tower
1 Fact or Fiction
1 Dauthi Horror
1 Dusk Mangler
1 Feed the Swarm
1 Phyrexian Rager
1 Plague Spitter
1 Ravenous Chupacabra
1 Syphon Mind
1 Drown in the Loch
1 Extract from Darkness
1 Dimir Keyrune
1 Dimir Signet
1 Everflowing Chalice
1 Herald's Horn
1 Lightning Greaves
1 Mindcrank
1 Sol Ring
1 Talisman of Dominance
1 Thought Vessel
1 Ash Barrens
1 Dimir Aqueduct
1 Myriad Landscape
1 Path of Ancestry
1 Port of Karfell
1 Rogue's Passage
1 Tainted Isle
1 Temple of the False God
9 Island
11 Swamp
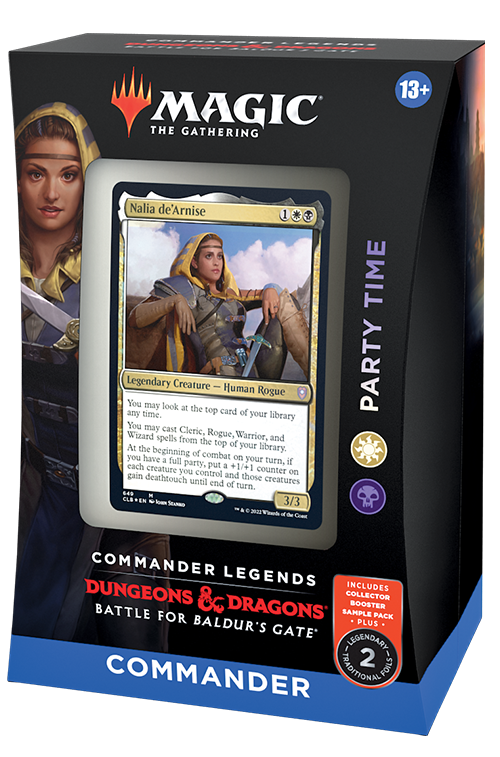
Party Time
1 Nalia de'Arnise
1 Burakos, Party Leader
1 Folk Hero
1 Deep Gnome Terramancer
1 Harper Recruiter
1 Seasoned Dungeoneer
1 Stick Together
1 Black Market Connections
1 Solemn Doomguide
1 Multiclass Baldric
1 Archpriest of Iona
1 Austere Command
1 Bygone Bishop
1 Dusk // Dawn
1 Eight-and-a-Half-Tails
1 Frontline Medic
1 Galepowder Mage
1 Glorious Protector
1 Jazal Goldmane
1 Magus of the Balance
1 Mikaeus, the Lunarch
1 Mirror Entity
1 Order of Whiteclay
1 Selfless Spirit
1 Sevinne's Reclamation
1 Solemn Recruit
1 Squad Commander
1 Unbreakable Formation
1 Bloodsoaked Champion
1 Butcher of Malakir
1 Calculating Lich
1 Dire Fleet Ravager
1 Gonti, Lord of Luxury
1 Grim Haruspex
1 Grim Hireling
1 Mardu Strike Leader
1 Mindblade Render
1 Nighthawk Scavenger
1 Pontiff of Blight
1 Puppeteer Clique
1 Felisa, Fang of Silverquill
1 Firja's Retribution
1 High Priest of Penance
1 Maskwood Nexus
1 Castle Locthwain
1 Mutavault
1 Shambling Vent
1 Temple of Silence
1 Vault of the Archangel
1 War Room
1 Windbrisk Heights
1 Arcane Signet
1 Command Tower
1 Aven Mindcensor
1 Crib Swap
1 Irregular Cohort
1 Mage's Attendant
1 Mother of Runes
1 Priest of Ancient Lore
1 Rumor Gatherer
1 Valiant Changeling
1 Changeling Outcast
1 Corpse Augur
1 Malakir Blood-Priest
1 Thwart the Grave
1 Zulaport Cutthroat
1 Despark
1 Orzhov Signet
1 Skullclamp
1 Sol Ring
1 Talisman of Hierarchy
1 Ash Barrens
1 Bojuka Bog
1 Mortuary Mire
1 Myriad Landscape
1 Orzhov Basilica
1 Path of Ancestry
1 Snowfield Sinkhole
1 Starlit Sanctum
1 Tainted Field
10 Plains
10 Swamp